WooCommerce Order Status Manager: Complete Setup &
Master the WooCommerce order status manager to automate workflows, track orders, and assign custom order status for WooCommerce stores. Boost efficiency
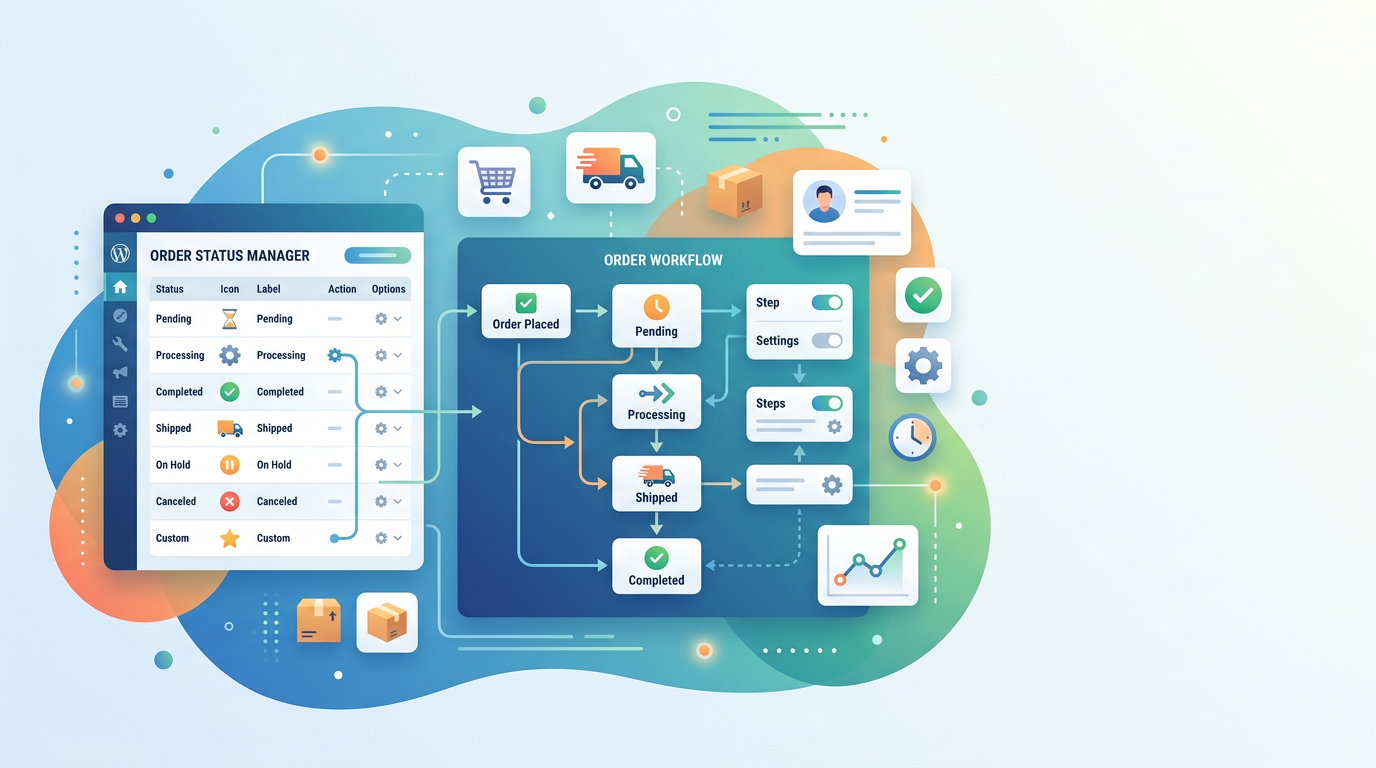
Running a store with complex fulfillment steps quickly exposes the limits of WooCommerce's default order statuses. When your warehouse team needs a "Picking" status, your finance department requires "Payment Verified," and your customers expect real-time woocommerce order tracking, the standard flow simply falls short. This is exactly where a robust woocommerce order status manager becomes essential. It allows you to define granular states, trigger specific notifications, and keep every stakeholder aligned without manual intervention.
The market offers several solutions, including the woocommerce order status manager by SkyVerge, which is a reliable choice for many merchants. However, you might also want to build a highly tailored setup using a custom order status for WooCommerce that integrates with your specific checkout logic or inventory rules. This guide covers the end-to-end process: from installing and configuring your statuses to automating assignments, managing email templates, and handling edge cases that trip up store owners.

Installation and Setup
Before diving into custom states, ensure your environment meets the baseline requirements. You need a self-hosted WordPress installation running the latest stable version of WooCommerce, a theme that does not aggressively override core hooks, and a compatible status manager plugin.
Add Custom Statuses Individually
Most managers provide a clean interface under WooCommerce > Statuses or Settings > Order Statuses. To add a status individually:
- Navigate to the plugin's settings page.
- Click Add New Status.
- Enter the label (e.g., "Awaiting Approval").
- Select a slug (e.g., `wc-awaiting-approval`). The slug must be lowercase and prefixed with `wc-` to ensure WordPress recognizes it as a custom post status.
- Choose a color code for visual distinction in the admin list.
- Save changes.
Import Custom Statuses
If you manage multiple stores or need to replicate a workflow, importing is faster. Most premium tools support CSV imports. Your CSV should contain columns for `status_slug`, `status_label`, and `status_color`. During import, the plugin maps these values to the `wp_posts` and `wp_postmeta` tables. Always back up your database before running an import, as a malformed CSV can create duplicate slugs or break the order list view.
Setting Up Email Notifications
A custom status is useless if your team or customers aren't notified. WooCommerce handles emails via its core mailer class, and your manager must hook into this correctly.
Add Email Content
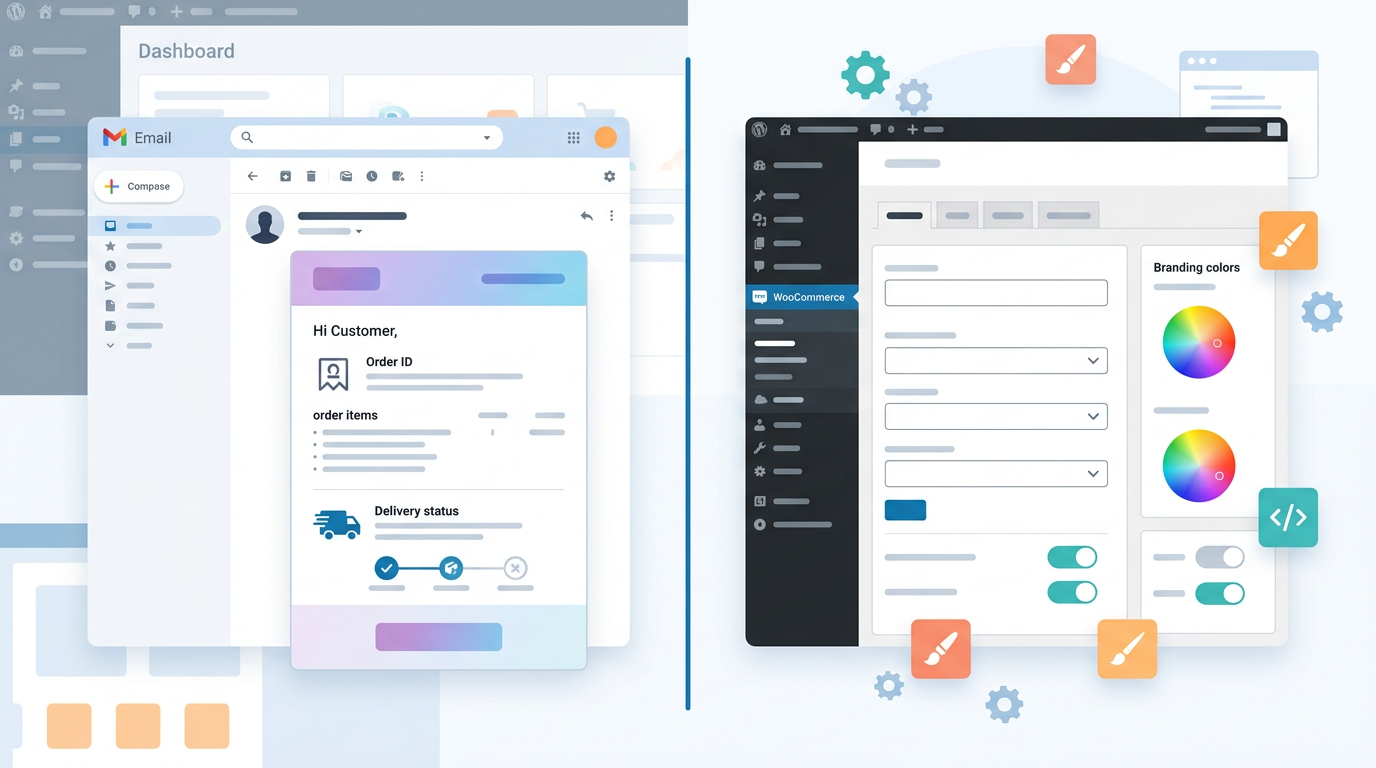
Go to WooCommerce > Settings > Emails. You should see a new tab or section for your custom statuses. Click to configure:
* Recipient: Default to `admin_email` for internal statuses and `customer` for customer-facing updates. * Subject: Use variables like `{order_number}` and `{order_status}`. * Heading & Content: Write clear instructions. If the status is "On Backorder," explain the expected restock date. * Enable/Disable: Toggle the email on or off per status.
Critical Edge Case: If you do not register the email template correctly, WooCommerce may send the default "Processing" email instead of your custom one. Ensure the plugin hooks into `woocommerce_email_classes` and that the template file exists in your theme's `woocommerce/emails/` folder if you are using custom PHP overrides.
Usage: Order Statuses in Practice
Once configured, the real work begins. You will interact with these statuses daily, and understanding the workflow is vital for efficiency.
Automatically Assign Custom Statuses
Automation saves hours. You can trigger status changes based on specific events:
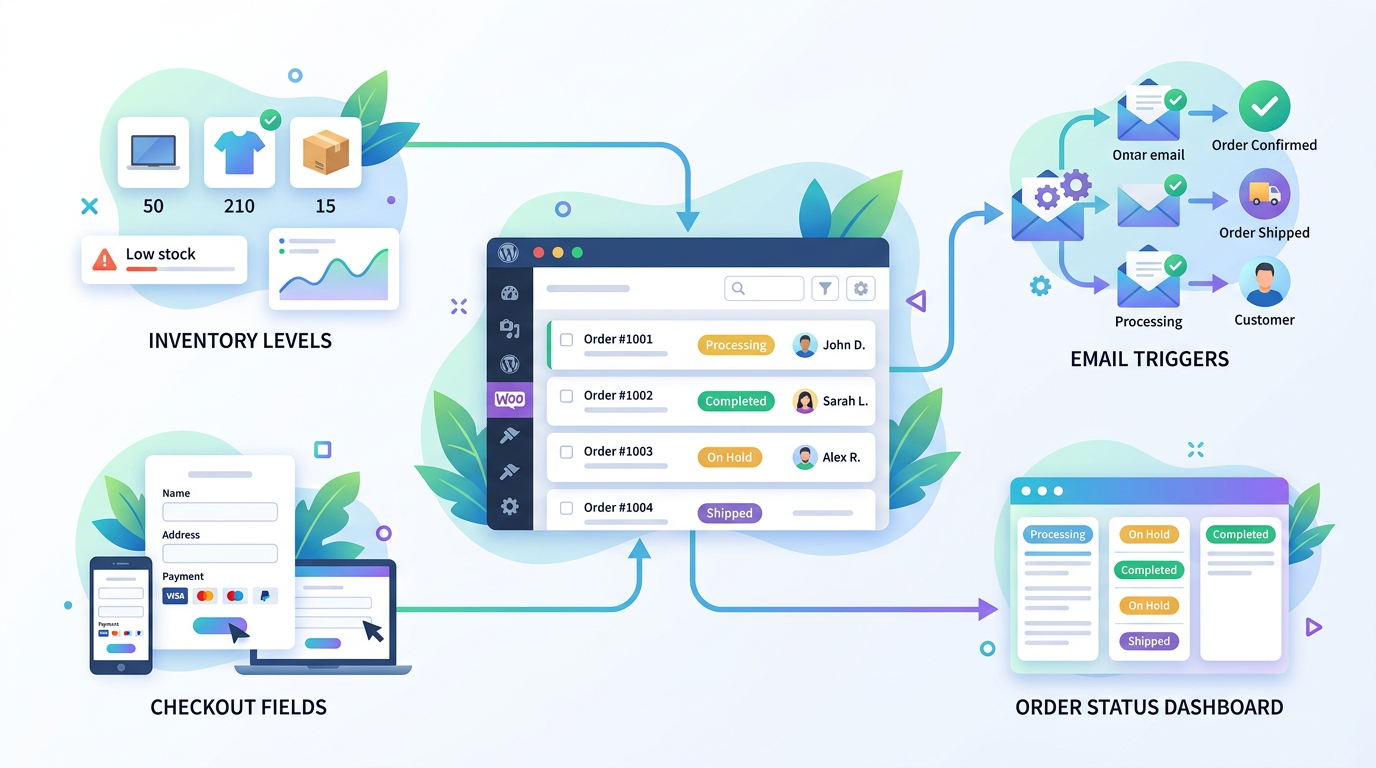
* Payment Gateways: When Stripe confirms payment, move from `pending` to `processing`. * Inventory Checks: If stock drops below a threshold defined by a tool like Min & Max Quantities for WooCommerce, auto-assign a "Low Stock Alert" status. * Checkout Logic: Use conditional rules to assign a "VIP Review" status if the cart total exceeds $500 or if a specific checkout field is selected via the Dreamfox Checkout Logic Builder for WooCommerce.
Manually Assign Custom Statuses
For exceptions, manual assignment is necessary. Open an order in WooCommerce > Orders, locate the Order Data meta box, and use the dropdown to select the new status. Click Update. The system logs this change in the order notes, providing an audit trail. Always add a note explaining *why* the status changed (e.g., "Customer requested gift wrapping") to prevent confusion for support agents.
Deleting Statuses
Deleting a status requires caution. If orders currently hold that status, deleting the definition can cause those orders to revert to "Pending" or disappear from filtered views. Best practice:
- Bulk edit orders to move them to a replacement status.
- Verify zero orders remain in the old status.
- Delete the status via the plugin settings.
- Flush rewrite rules if the status slug was used in URLs.
Efficiently Manage Your Orders
With multiple statuses, your admin list can become cluttered. Filtering and bulk actions become your best friends.
Filtering and Bulk Actions
Use the dropdown filters above the orders table to isolate specific states. For example, filter by "Awaiting Shipment" to generate a daily picking list. Bulk actions allow you to select 50 orders and change their status simultaneously, reducing repetitive clicks. Ensure your manager plugin supports bulk operations; otherwise, you will be forced to update orders one by one.
Comparison: Default vs. Custom Statuses
| Feature | Default WooCommerce | Custom Status Manager |
|---|---|---|
| Granularity | Limited (Pending, Processing, Completed) | Unlimited (Picking, Quality Check, Shipped) |
| Email Triggers | Fixed set | Configurable per status |
| Automation | Basic payment hooks | Advanced rules (inventory, logic, user roles) |
| Visual Aid | Standard text | Color-coded badges |
| Export/Import | Manual database edits | CSV support built-in |
Advanced Configuration and Related Steps
To get the most out of your setup, you often need to integrate with other plugins or handle complex scenarios.
Requirements and Compatibility
Ensure your PHP version is 7.4 or higher. Conflicts often arise with caching plugins that cache the admin area or with security plugins that block AJAX requests used by status managers. Whitelist the AJAX action `wp_ajax_update_order_status` in your security firewall.
Import or Export Custom Statuses
For agencies managing multiple client sites, exporting configurations is a time-saver. Use the plugin's export tool to generate a JSON or CSV file of your status rules. When setting up a new store, import this file to replicate the workflow instantly. This ensures consistency across your portfolio of stores.
Conclusion
Implementing a woocommerce order status manager transforms your store from a basic cart into a streamlined operation. By defining custom order status for WooCommerce, automating assignments, and configuring precise email notifications, you reduce errors and improve customer satisfaction. Whether you choose a premium solution or build your own logic, the key is aligning the statuses with your actual business processes. Explore Dreamfox Media's suite of workflow tools to further optimize your checkout and inventory management today.
FAQ
- Can I create a custom order status for WooCommerce without coding?
- Yes, using a dedicated plugin like the woocommerce order status manager by SkyVerge or similar tools allows you to create, color-code, and assign statuses directly from the WordPress dashboard without writing PHP.
- How do custom order statuses affect woocommerce order tracking for customers?
- Custom statuses can trigger specific email notifications that keep customers informed. If you integrate with a tracking plugin, these statuses can also update the front-end order tracking page with real-time progress.
- Is it safe to delete a custom order status if orders are currently using it?
- No, deleting a status while orders are assigned to it can cause data inconsistencies or revert orders to default states. Always bulk-edit orders to move them to a new status before deleting the old one.
- Can I automatically assign custom statuses based on payment gateways?
- Absolutely. Most order status managers allow you to set rules that change the status automatically when a payment is confirmed, failed, or placed on hold by specific gateways like Stripe or PayPal.
- How do I import or export my custom order statuses to another site?
- Premium managers typically include an import/export feature that uses CSV or JSON files. You can export your configuration from one site and import it into another to replicate your workflow instantly.
- Will a custom order status manager slow down my WooCommerce site?
- A well-coded plugin has negligible impact on performance. However, excessive automation rules or poorly optimized database queries can cause slowdowns, so always test changes in a staging environment first.
- Can I use custom statuses with variable products or subscriptions?
- Yes, custom statuses apply to the parent order regardless of whether it contains simple products, variations, or subscription items. Just ensure your automation rules account for the specific needs of recurring payments.