WooCommerce One Page Checkout Setup Guide
Master WooCommerce one page checkout: compare free vs premium plugins, fix common errors, and skip the one-page checkout Shopify trap.
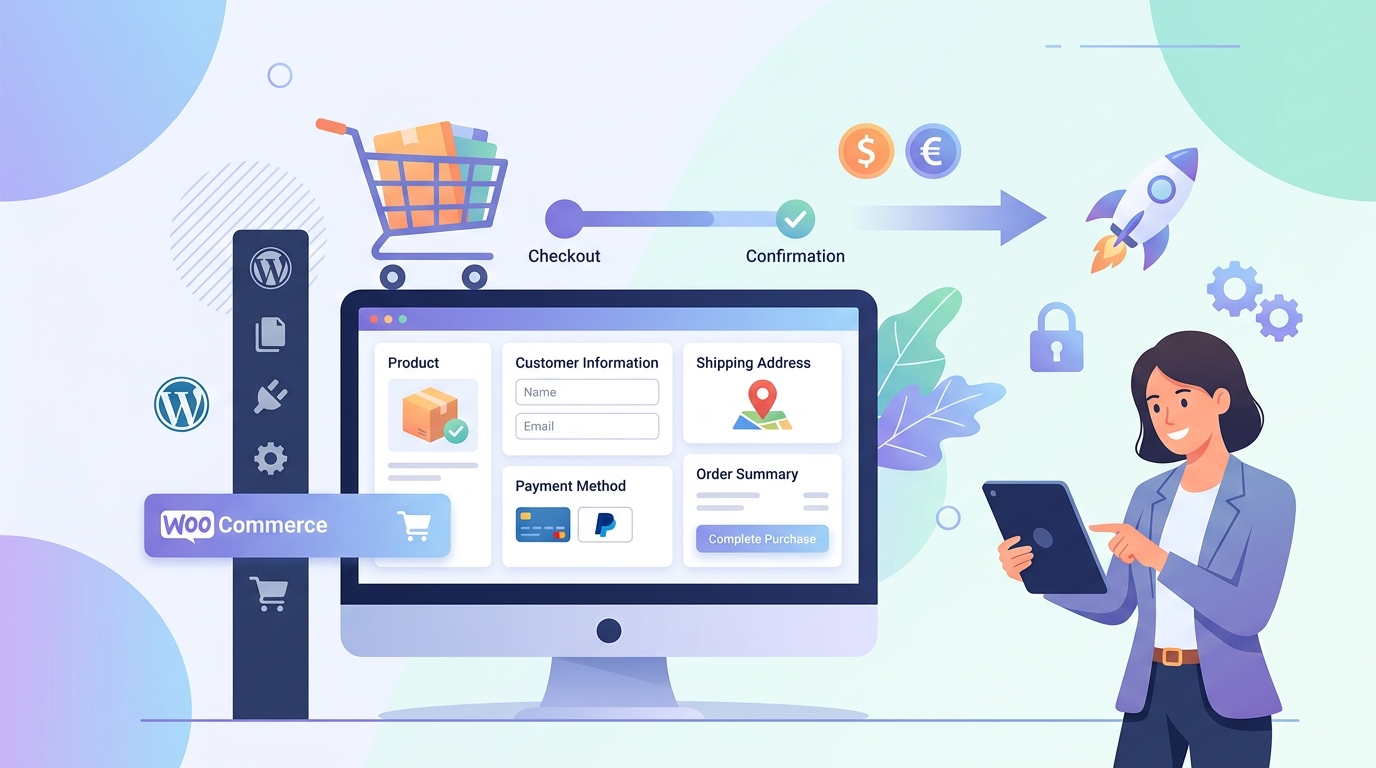
You just spent $400 on Google Ads to drive traffic to your store, and a customer adds a $60 product to the cart. They reach the default WooCommerce checkout, stare at a wall of twenty fields, and bounce. That bounce is not a browser glitch; it is a friction problem. The default multi-step checkout was built for B2B wholesale workflows, not for the impulse buyer on a mobile screen. Switching to a WooCommerce one page checkout removes the page-to-page reloads, collapses the form, and typically lifts conversion rates by double digits. This guide covers the exact implementation path, the settings that actually matter, and the pitfalls that turn a "simplified" checkout into a broken one.
Why the Default Checkout Bleeds Revenue
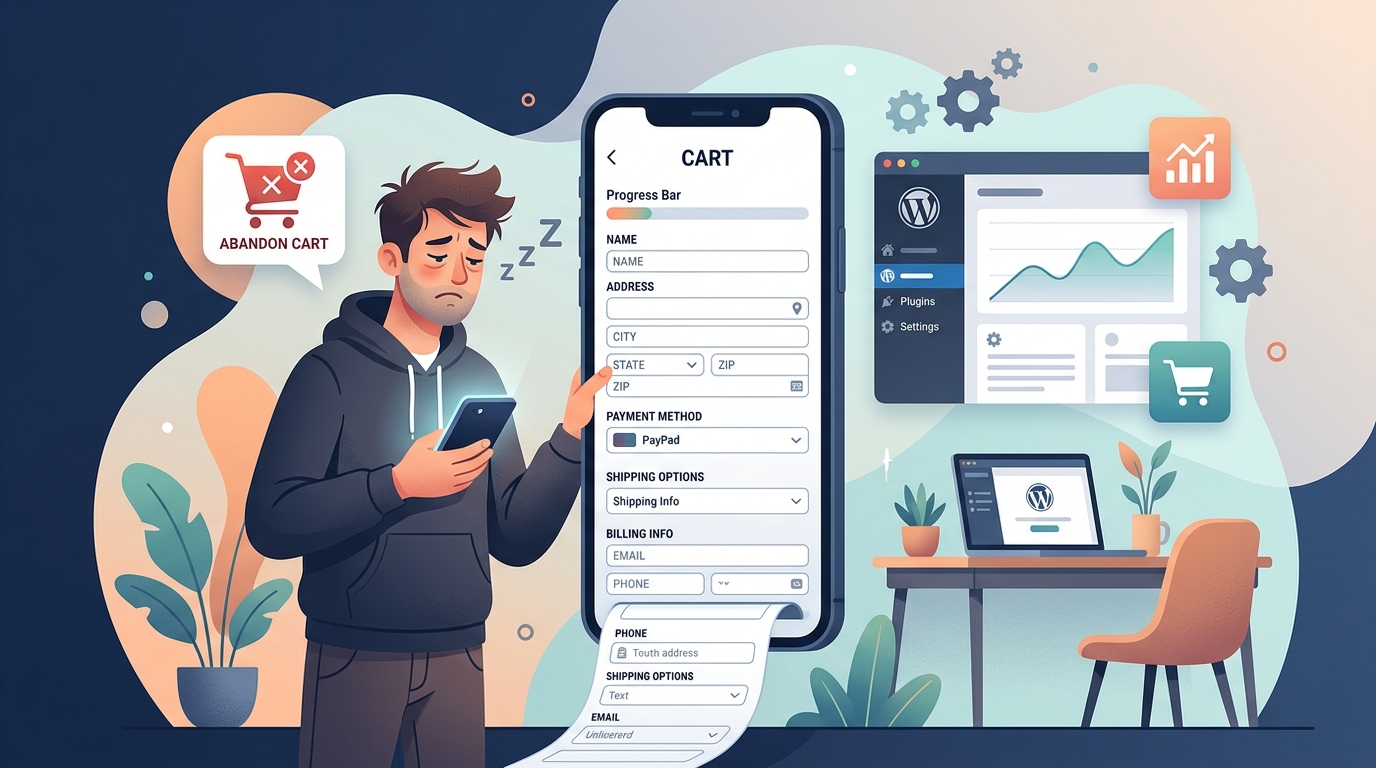
WooCommerce loads the checkout as a standalone page with shipping, billing, order review, and payment stacked vertically. On desktop, this is long. On mobile, it requires three to four screen scrolls before the customer even sees the payment fields. Every scroll is a decision point where the customer can second-guess the purchase.
The Friction Breakdown
- Page reloads between steps. If you use the cart page as a mini-checkout, customers still hit the main checkout to pay. Each reload resets the DOM, clears partial inputs, and adds 1.5 to 3 seconds of perceived wait time.
- Redundant field validation. The default checkout validates the entire form on submit, which means a missing postcode in the billing section throws an error at the very bottom of the page. The customer scrolls back up, fixes it, submits again, and hits a missing phone number error. This cycle is a conversion killer.
- Guest checkout friction. WooCommerce enables guest checkout by default, but the form still demands email and address. A one-page layout can hide optional fields behind a toggle and auto-fill known data from session cookies.
What Happens When You Skip the Fix
Stores that leave the default checkout in place for more than six months routinely see cart abandonment rates above 68%. A one-page layout alone does not fix a broken shipping zone or a missing payment gateway, but it removes the structural friction that turns hesitant buyers into abandoners. The real lift comes when you combine a single-page layout with field reduction and smart defaults.
How to Implement a One-Page Checkout Correctly
There are two implementation paths: a shortcode-based approach for developers who want granular control, and a full plugin approach for store owners who need a turnkey solution with zero coding.
The WooCommerce One Page Checkout Shortcode Approach
If you are comfortable editing page content or templates, the shortcode method gives you a lightweight starting point. WooCommerce does not ship a native `[woocommerce_checkout]` shortcode out of the box, but most one-page checkout plugins register one. A typical implementation looks like this:
- Create a new page called "Checkout".
- In the page editor, add the shortcode provided by your plugin. For many plugins, this is `[woocommerce_checkout]` or `[one_page_checkout]`.
- Set the page to a full-width template so the sidebar does not compress the form.
- Go to WooCommerce > Settings > Advanced and set the Checkout page dropdown to your new page.
This approach works when you have a simple store with one payment gateway and no custom shipping rules. It falls apart when you need dynamic shipping calculations, conditional fields, or integration with a subscription plugin. The shortcode renders the form, but it does not wire up the AJAX reloads that keep the order review in sync with coupon codes and shipping methods.
The Plugin-Based Approach
For most store owners, a dedicated plugin is the safer path. A quality plugin handles:
- AJAX form submission so the page never reloads.
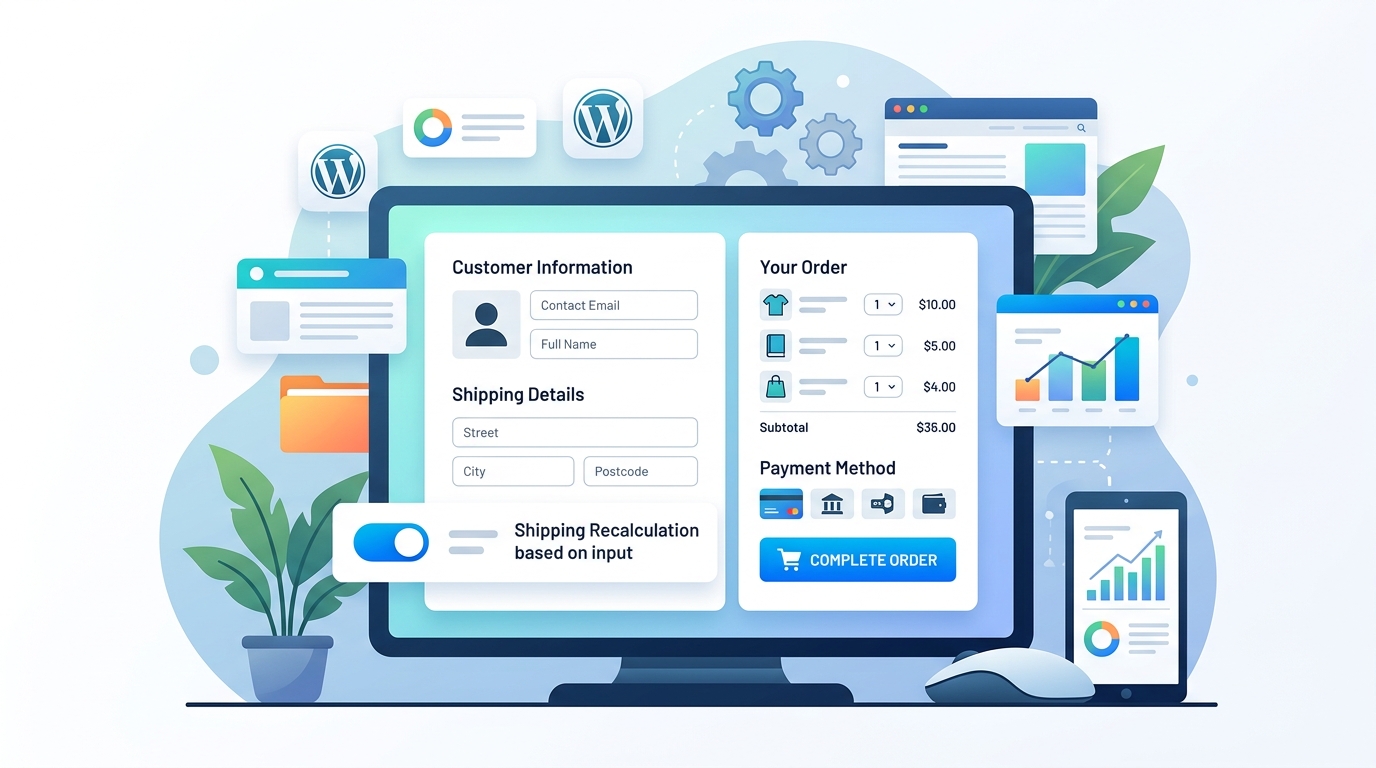
- Shipping rate recalculation when the customer changes their postcode.
- Order review updates when a coupon is applied or a quantity changes.
- Guest checkout flow that does not force account creation.
When evaluating options, especially if you are comparing a woocommerce one page checkout free plugin against a premium alternative, check whether the free version locks shipping recalculation behind a paywall. That is a common trap. A one-page checkout that cannot recalculate shipping when the customer enters a postcode will either show a flat rate or throw a fatal error at the gateway.
Free vs Premium: What You Actually Get
The market is flooded with free one-page checkout plugins. Many of them strip the default checkout down to a single page and call it done. That is only step one. The real value of a premium plugin lies in the edge cases it handles without breaking.
| Feature | Free Plugin | Premium Plugin |
|---|---|---|
| Single-page layout | Yes | Yes |
| AJAX form submission | Sometimes | Yes |
| Dynamic shipping recalculation | Rarely | Yes |
| Conditional fields based on country | No | Yes |
| Coupon auto-apply and validation | No | Yes |
| Integration with delivery date plugins | No | Yes |
| Support and updates | Community only | Dedicated |
If your store sells physical goods with variable shipping zones, the free route will cost you more in debugging time than the premium plugin costs in license fees. A premium solution also gives you access to support channels when a theme conflict breaks the AJAX handler.
Essential Settings to Configure After Installation
Installing the plugin is only the beginning. The settings you configure next determine whether the checkout actually converts or just looks different.
1. Field Optimization
Go to WooCommerce > Settings > Checkout (or your plugin's settings page) and remove every field that is not legally required for your payment gateway. Most gateways only require email, billing address, and payment details. Company name, second address line, and phone number are optional for the majority of B2C stores. If you need those fields for B2B orders, use conditional logic to show them only when the customer selects a wholesale payment method or enters a VAT number.
For deeper control, use a field management tool like Checkout Fields Manager for WooCommerce to reorder fields, change labels, set placeholders, and make fields required or optional without touching code. This plugin also lets you add custom fields for gift messages or delivery instructions, which can increase average order value when presented at the right moment.
2. Shipping Recalculation
This is the setting most store owners forget. If your one-page checkout does not recalculate shipping when the customer enters a postcode, they will see a flat rate or no rate at all. Go to your plugin's settings and enable Auto-calculate shipping on postcode input. Test this with two scenarios:
- A customer in a free-shipping zone enters a postcode. The shipping line should update to "Free Shipping" instantly.
- A customer in a paid zone enters a postcode. The shipping line should update to the correct rate within one second.
If the shipping line does not update, check your WooCommerce > Settings > Shipping > Shipping Zones configuration. A missing zone or a misplaced postcode range will cause the recalculation to fail silently.
3. Order Review Sync
The order review section on the right side of the checkout must update when the customer changes a quantity, applies a coupon, or selects a different shipping method. Enable AJAX order review updates in your plugin settings. Without this, the customer might apply a 20% coupon, see the discount in the coupon field, but still see the full price in the order total. That discrepancy triggers trust issues and abandonment.
4. Payment Gateway Order
Place your most popular payment method at the top of the list. If 70% of your customers pay with Stripe, Stripe should be the first option, not the last. Some plugins let you drag and drop gateway order; others require a snippet. A higher visibility gateway reduces clicks and speeds up the decision.
Common Mistakes That Break Your Checkout
Even with the right plugin, these mistakes will undo your conversion gains.
Theme Conflicts
A theme that overrides `checkout/form-checkout.php` will break the AJAX handler of most one-page checkout plugins. The symptom is a page that loads the form but never submits, or a form that submits and returns to the cart without processing payment. To diagnose this, switch to Storefront or Twenty Twenty-Four temporarily. If the checkout works, your theme is the culprit. Contact the theme developer or use a child theme to override the template correctly.
Missing Required Fields
If you remove the phone number field but your payment gateway requires it for fraud screening, the gateway will reject the transaction. Always check your gateway's documentation for required fields before removing anything. PayPal, for example, requires a billing address with postcode for buyer protection. Stripe requires email and card details but is more flexible on address fields.
Overcomplicating the Layout
A one-page checkout is not a landing page. Do not add testimonials, trust badges, or promotional banners inside the form. These elements belong on the product page and the cart page. The checkout should be a straight line from email to payment. Every extra element is a distraction that increases cognitive load.
Handling Edge Cases: Subscriptions, Bookings, and Delivery Dates
A one-page checkout works for standard physical and digital products. It requires additional configuration for complex order types.
Subscriptions and Renewals
If you sell subscriptions, the checkout must handle the initial payment and the recurring schedule in a single flow. Some one-page checkout plugins bundle subscription support; others require a separate add-on. Test the renewal flow in sandbox mode before going live. A broken renewal setup will cause chargebacks and customer support tickets.
Delivery Date and Timeslot Selection
For stores that offer local delivery or scheduled shipping, the checkout must include a date picker that respects your business calendar. A plugin like Delivery Date & Timeslot for WooCommerce adds a calendar widget to the checkout, blocks holidays, and sets cutoff times for same-day delivery. Without this integration, customers might select a delivery date that is impossible to fulfill, leading to refund requests and negative reviews.
Guest Checkout vs Account Creation
Forcing account creation at checkout increases abandonment by up to 35%. Enable guest checkout and offer account creation after payment. Some plugins let you add a checkbox that says "Create an account for faster checkout next time" and auto-generate the password. This approach captures the email for marketing without adding friction to the purchase.
If you are using Freemius for licensing or digital product distribution, ensure your checkout integrates smoothly with their licensing flow. Tools like Checkout for Freemius bridge the gap between WooCommerce checkout and Freemius license delivery, so customers receive their keys immediately after payment without manual intervention.
Comparing Your Options: Shopify vs WooCommerce
Store owners often compare a one-page checkout Shopify setup against a WooCommerce implementation. Shopify's checkout is locked down for Plus merchants only, meaning most Shopify users cannot customize the checkout page at all. WooCommerce gives you full control, but that control requires configuration.
| Platform | Checkout Customization | One-Page Checkout Availability | Cost |
|---|---|---|---|
| Shopify (Basic) | None | Not available | N/A |
| Shopify Plus | Limited via Checkout Extensibility | Available via apps | $2,000+/mo |
| WooCommerce | Full control via plugins | Available via plugins | $0-$200/yr |
If you are on Shopify Basic and need a one-page checkout, you are stuck. WooCommerce gives you the flexibility to implement one at any price point. The trade-off is that you are responsible for testing, updating, and maintaining the checkout flow. That responsibility is worth it if your conversion rate is your primary growth lever.
Testing Your Checkout Before Launch
Never push a new checkout to production without testing. Follow this checklist:
- Test on mobile. 60% of purchases happen on mobile. If the form fields are too small or the submit button is hidden below the fold, you will lose sales.
- Test with a coupon. Apply a percentage discount, a fixed discount, and a free shipping coupon. Verify the order total updates correctly.
- Test with a guest user. Create a checkout as a guest. Verify that no account creation is forced.
- Test with multiple shipping zones. Enter postcodes from different zones and verify shipping rates update.
- Test with each payment gateway. Process a test transaction with Stripe, PayPal, and any offline methods. Verify the thank you page loads and the order appears in WooCommerce.
Conclusion
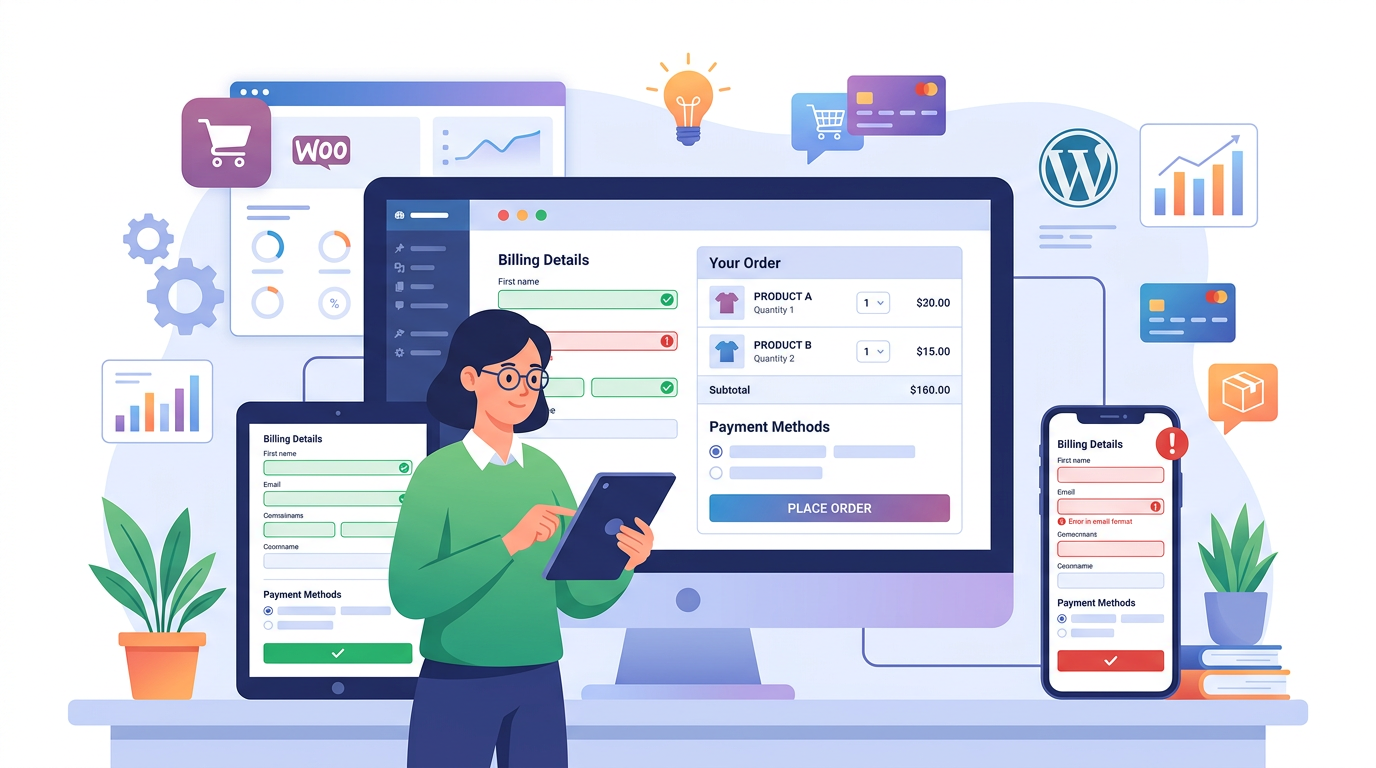
A WooCommerce one page checkout is not a cosmetic upgrade. It is a structural change that removes friction, reduces cognitive load, and gives customers a clear path to payment. The key to success is not just installing a plugin but configuring it correctly: optimize fields, enable shipping recalculation, sync the order review, and test every edge case. When done right, the checkout becomes your highest-converting page on the site. If you are ready to streamline your checkout flow and stop losing customers to unnecessary steps, explore the Dreamfox plugin suite built specifically for WooCommerce checkout optimization.
FAQ
- Does a one-page checkout work with all payment gateways?
- Most major gateways like Stripe, PayPal, and Square work seamlessly with a one-page checkout. Some niche or regional gateways may require additional configuration or may not support AJAX submission. Always test your specific gateway in sandbox mode before going live.
- Can I use a woocommerce one page checkout free plugin safely?
- Yes, but free plugins often lack dynamic shipping recalculation, conditional fields, and dedicated support. If your store has simple shipping and one payment gateway, a free plugin may suffice. For complex stores, a premium plugin reduces the risk of broken checkouts and lost revenue.
- How do I add a one-page checkout using a shortcode?
- Create a new page, insert the shortcode provided by your plugin, and set that page as the checkout page in WooCommerce settings. This method works for simple stores but may not handle dynamic shipping or coupon recalculation without additional configuration.
- Will a one-page checkout break my existing theme?
- It can if your theme overrides the default checkout template. Switch to a default WordPress theme temporarily to test. If the checkout works, your theme is causing the conflict. Use a child theme or contact the theme developer for a compatible template override.
- How does a one-page checkout compare to a one-page checkout Shopify setup?
- Shopify only allows checkout customization on the Plus plan, which costs over $2,000 per month. WooCommerce gives you full checkout control at any price point through plugins, making it the more flexible option for store owners who need a tailored checkout experience.
- Can I add delivery date selection to a one-page checkout?
- Yes, but you need a plugin that integrates with your checkout solution. A delivery date plugin adds a calendar widget to the checkout form, blocks unavailable dates, and sets cutoff times. Ensure the plugin supports AJAX submission so the date selection does not break the checkout flow.
- Does a one-page checkout support guest checkout?
- Yes, most one-page checkout plugins support guest checkout by default. Forcing account creation increases abandonment significantly. Enable guest checkout and offer account creation after payment to capture emails without adding friction to the purchase process.
This article is part of our WooCommerce checkout topic hub, where the related plugins and guides live together.