WooCommerce Checkout Block: The Complete Setup Guide
Master the WooCommerce checkout block, swap the legacy shortcode, and use WooCommerce checkout block add field methods to boost conversions.
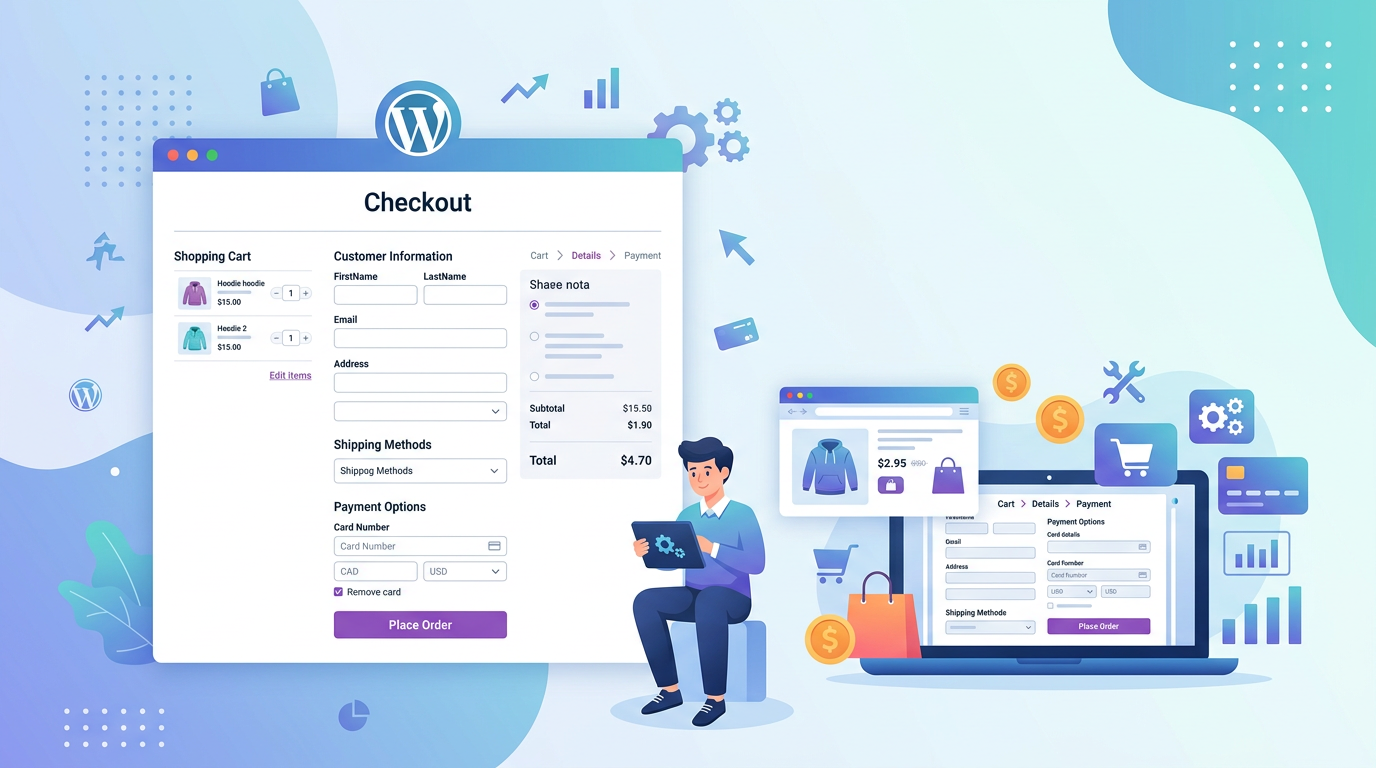
Your store runs on a modern block theme, but the checkout page still looks like it was built in 2018. Customers complain that the form feels rigid, the delivery date picker is missing, and your custom loyalty field vanishes the moment you switch layouts. The core issue is usually a mix of legacy blocks and missing configuration. Moving to the native WooCommerce checkout block resolves the layout conflicts, unlocks native block settings, and prepares your store for full-site editing.
This guide covers the full transition, from swapping out the legacy shortcode to wiring up custom data with WooCommerce checkout block hooks. We will show you exact settings paths, explain where the block diverges from the old template, and give you a practical approach to WooCommerce checkout block add field workflows that actually save time.
Why the Checkout Block Replaces the Legacy Shortcode
WooCommerce introduced the checkout block to replace the static template used for years. The legacy approach relied on the `[woocommerce_checkout]` shortcode, which rendered a fixed HTML structure. That structure could not be modified by the block editor, which forced developers to override templates or inject CSS just to move a single input.
The checkout block renders each component as a separate block. You can drag the billing form, the order notes, and the payment gateways into columns, stack them on mobile, or hide sections entirely. The block also respects global styles, so typography and spacing inherit from your theme without custom CSS.
| Feature | Checkout Shortcode | Checkout Block |
|---|---|---|
| Layout control | Fixed table structure | Full block editor and columns |
| Mobile stacking | CSS overrides required | Native responsive block settings |
| Custom fields | Template overrides or plugins | Block settings and hooks |
| Performance | Server-side render | Hybrid render with client-side updates |
The block is not just a visual upgrade. It changes how data flows during submission. The legacy shortcode processed everything in one PHP request. The block uses a hybrid model where the initial render is server-side, but cart updates and validation happen via REST endpoints. That means your custom validation must hook into the correct filter, or customers will see silent failures at the payment step.
Migrating from the Shortcode to the Block
Most stores already have the block installed. The migration is a matter of replacing the old block or shortcode with the new one and verifying the settings.
- Open the checkout page in the editor. If you see `[woocommerce_checkout]`, highlight it and press the slash key to open the block inserter.
- Search for WooCommerce Checkout Block and insert it.
- Delete the shortcode block to avoid duplicate forms.
- Save and preview the page on mobile.
If you are using a classic theme, you may need a compatibility layer. WooCommerce provides a compatibility plugin that forces the block to render on classic themes while preserving the shortcode fallback. Install it, activate the compatibility mode, and test the checkout under incognito mode to rule out caching conflicts.
Common migration mistakes include leaving the legacy template overrides in your child theme. Files like `woocommerce/checkout/form-checkout.php` will still load if the block cannot find its container. Remove or rename those overrides after the switch, then clear your page cache.
Layout and Block Settings That Actually Move the Needle
The block inspector exposes settings that directly impact conversion. Open the checkout block, then open the sidebar inspector. You will see toggles for customer experience features like express payments, order notes, and cart validation.
- Express Payments: Enable Stripe, PayPal, or Apple Pay at the block level. If you disable them here, the gateways vanish even if they are active in WooCommerce settings.
- Order Notes: Set to optional or hidden for digital stores. Forcing a text area on a one-click purchase flow adds friction.
- Cart Validation: Keep this on. If you turn it off, customers can submit orders with out-of-stock items, which triggers manual cancellations later.
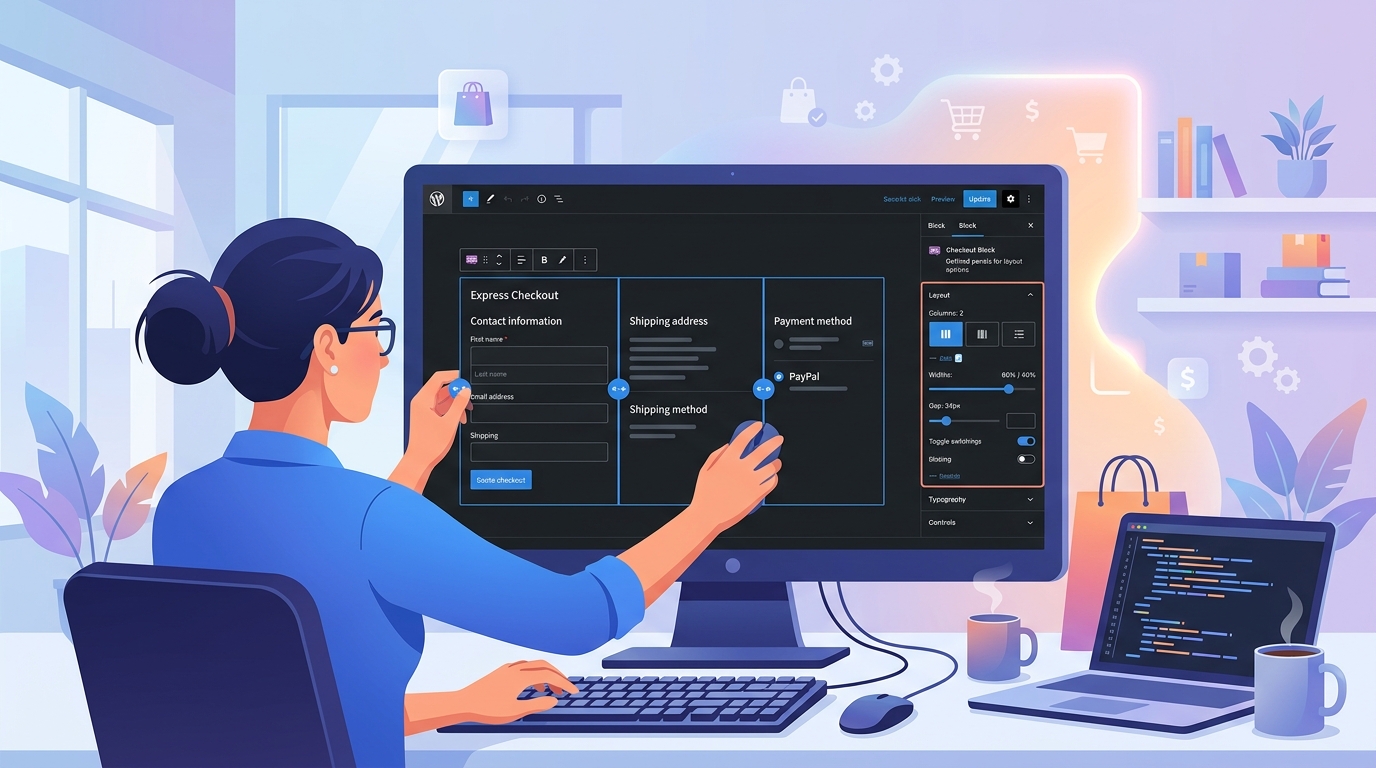
You can also restructure the form. Select the Columns block inside the checkout, add a two-column layout, and place the billing form on the left and the order summary on the right. On mobile, the columns stack automatically. If you are selling perishable goods, use the Delivery Date & Timeslot for WooCommerce plugin to inject a date picker into the right column. That reduces support tickets about missed delivery windows.
Adding Custom Fields Without Breaking the Flow
The most common request is to capture extra data during checkout. With the block, you can add fields through the WooCommerce settings or by coding directly into the block hooks. The block settings approach is safer for non-developers, while hooks give precise control over placement and validation.
Using the Block Settings Panel
- Open the checkout block in the editor.
- Open the block inspector.
- Toggle the fields you need, such as company name or phone number.
- Set each field to required, optional, or hidden.
- Save and test.
This method works for standard fields. If you need a loyalty number, a gift message, or a delivery instruction, you will need a plugin or custom code. The Checkout Fields Manager for WooCommerce plugin adds a UI to create, reorder, and validate custom fields without touching templates. Fields created there render inside the checkout block automatically, and the plugin handles the REST validation so the block does not reject the submission.
Using WooCommerce Checkout Block Hooks
For developers, the block exposes filters that let you inject fields and modify validation. The primary hook for adding a field to the block is `woocommerce_checkout_fields` for the server-side render and `woocommerce_store_api_checkout_update_order_from_request` for the REST submission.
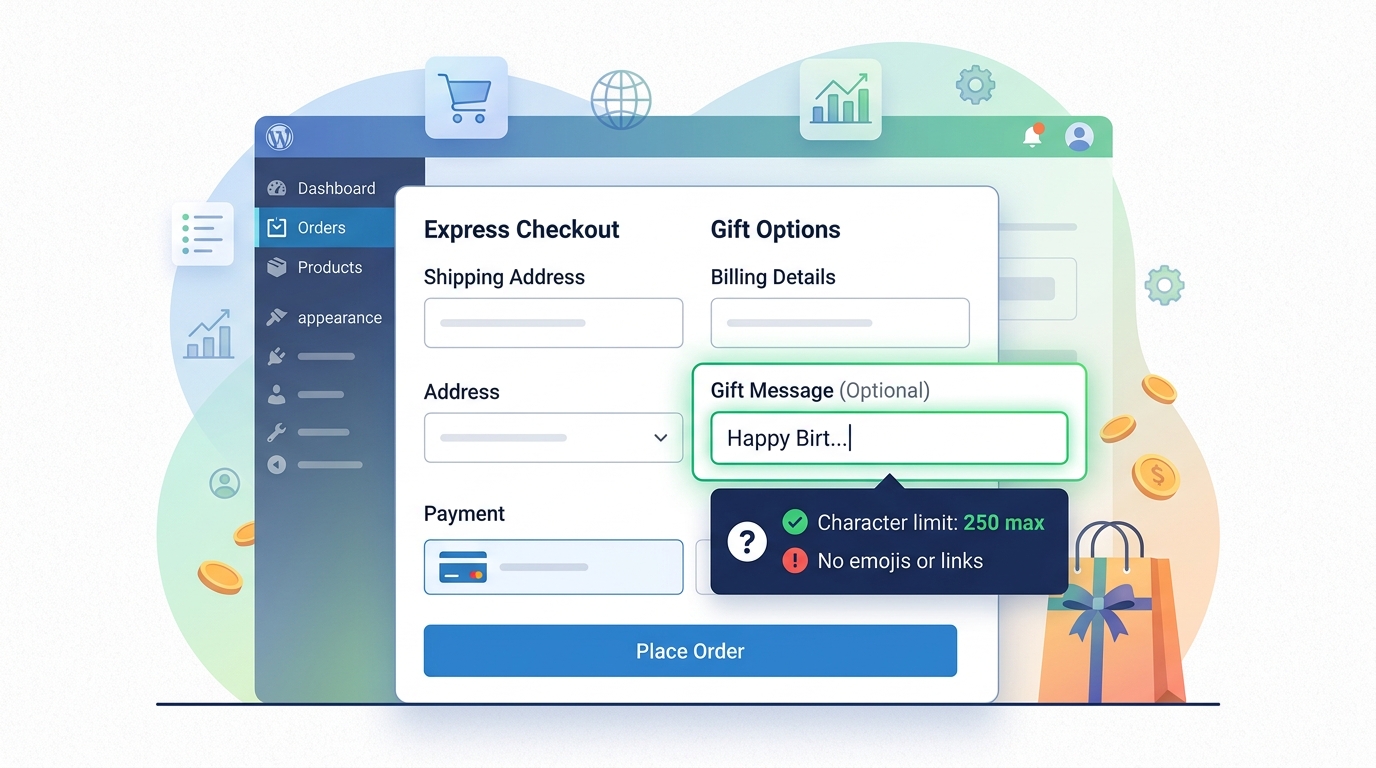
Here is a minimal example that adds a gift message field and saves it to the order meta:
```php add_filter( 'woocommerce_checkout_fields', function( $fields ) { $fields['additional']['gift_message'] = array( 'type' => 'text', 'label' => 'Gift Message', 'placeholder' => 'Enter a short note', 'required' => false, 'class' => array('form-field-wide'), ); return $fields; });
add_action( 'woocommerce_store_api_checkout_update_order_from_request', function( $order, $request ) { if ( isset( $request['gift_message'] ) ) { $order->update_meta_data( 'gift_message', sanitize_text_field( $request['gift_message'] ) ); } }, 10, 2 ); ```
The field appears in the additional section of the checkout block. The second hook ensures the value is captured during the REST submission, which is how the block saves data. If you only hook into the legacy `woocommerce_checkout_update_order_meta`, the field will not save when the block is used.
Always validate on the server side. Never trust client-side validation alone. If a customer disables JavaScript, the block falls back to a standard POST request, and missing server-side hooks will drop the data silently.
Payment Gateways and the Block Editor
The checkout block manages payment gateways through its own settings. Each gateway is rendered as a separate block inside the payment methods container. You can reorder them, hide specific methods, or add custom gateways that support the block API.
If you sell subscriptions or memberships, you may need to gate certain payment methods. The Checkout for Freemius plugin integrates with the block to show or hide payment options based on customer tags or membership levels. Place the gateways in the order that matches your margin strategy. Put high-converting methods like Apple Pay or Google Pay at the top, and move manual bank transfers to the bottom.
Test each gateway in test mode. The block validates the cart before sending the request to the gateway API. If your gateway does not support the REST flow, the block will fall back to a redirect, which breaks the seamless experience. Check the gateway documentation for "WooCommerce Blocks compatibility" before deploying.
Validation, Errors, and Edge Cases
The block uses a different error handling model than the shortcode. Errors are returned as JSON responses from the REST API. If your custom validation returns a PHP warning instead of a structured error, the checkout will spin indefinitely.
Common edge cases include:
- Mixed required fields: If you set a field to required in the block settings but remove it via a filter, the block will still demand the value. Always sync the settings and the filter.
- Conditional logic: The block does not support native conditional fields. If you need to show a field only when a specific product is in the cart, use a plugin that injects the logic via the REST validation filter.
- Currency switching: Multi-currency plugins must hook into the store API to update totals. If they only update the shortcode totals, the block will display stale prices.
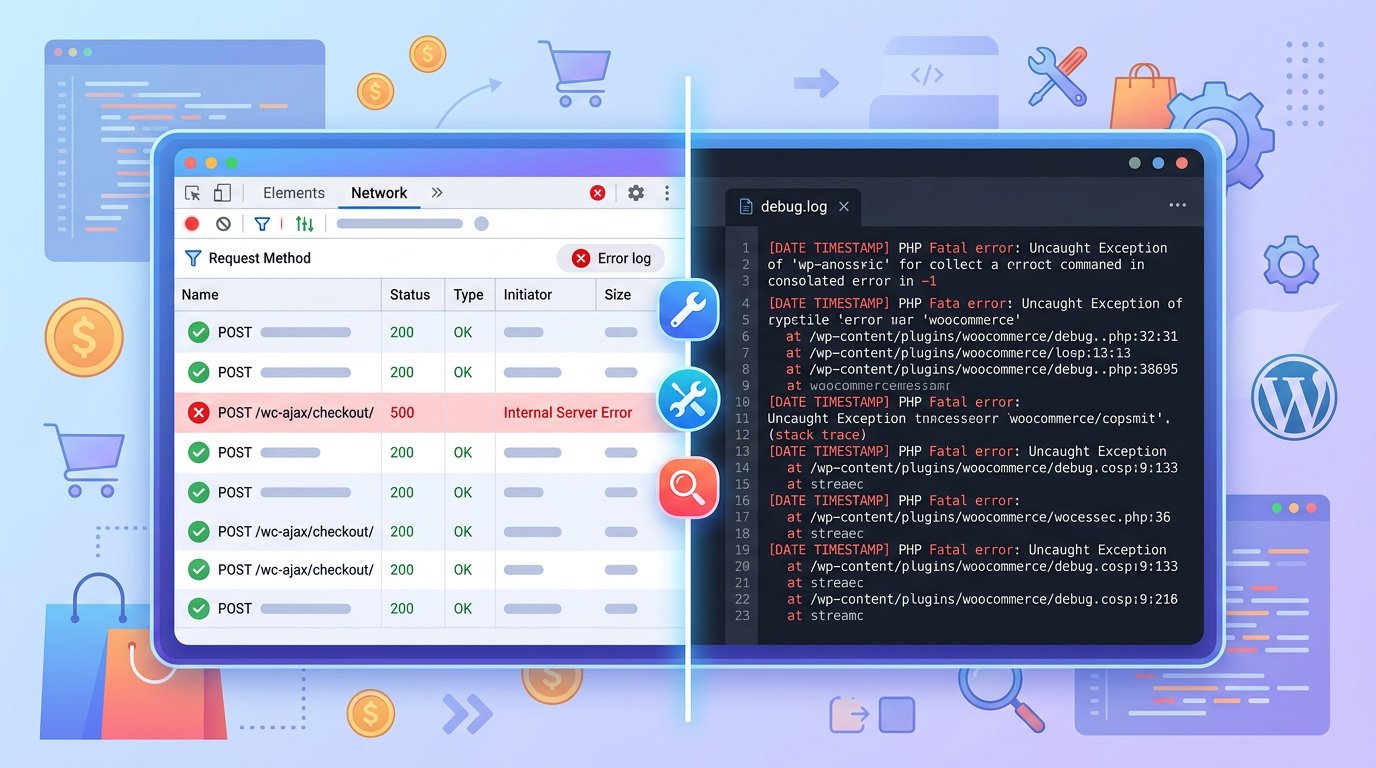
To debug, enable `WP_DEBUG` and check the browser network tab. Look for 400 or 500 responses from `/wp-json/wc/store/v1/checkout`. The response body will contain the exact validation error. If the error is blank, your code is throwing a fatal error. Check the PHP error log.
Conclusion
The WooCommerce checkout block is the standard for modern stores. It replaces the rigid shortcode with a flexible, block-editor-native experience that improves mobile layout, speeds up development, and reduces template conflicts. Migrate carefully, hook into the correct REST filters, and test under incognito mode to avoid caching traps. Use the right plugins to manage custom fields and delivery options, and your checkout will convert better from day one. Explore the Checkout Fields Manager for WooCommerce to build forms that match your exact workflow without touching code.
FAQ
- how to add custom fields in woocommerce checkout block?
- You can add custom fields using the Checkout Fields Manager for WooCommerce plugin, which injects fields directly into the block settings, or by using the woocommerce_checkout_fields filter combined with the woocommerce_store_api_checkout_update_order_from_request hook to capture data during the REST submission.
- Does the WooCommerce checkout block work with classic themes?
- Yes, but you need the WooCommerce Blocks compatibility plugin. It forces the block to render on classic themes while preserving the legacy shortcode fallback for safety.
- Why are my custom fields not saving on the checkout block?
- The block uses the Store API for submissions. If you only hook into woocommerce_checkout_update_order_meta, the data will not save. You must also hook into woocommerce_store_api_checkout_update_order_from_request to capture values during the REST request.
- Can I hide specific payment gateways on the checkout block?
- Yes. The block exposes a payment methods container where you can reorder or hide gateways. You can also use conditional logic plugins or the Checkout for Freemius plugin to show methods based on customer tags or membership levels.
- How do I debug a spinning checkout block?
- Enable WP_DEBUG and check the browser network tab for 400 or 500 errors on the /wp-json/wc/store/v1/checkout endpoint. The response body will show the validation error, and the PHP error log will reveal any fatal errors caused by custom hooks.
- Is the checkout block faster than the shortcode?
- The block uses a hybrid render model. The initial page load is server-side, but cart updates and validation happen via lightweight REST endpoints, which reduces server load and improves perceived speed on mobile devices.
This article is part of our WooCommerce checkout topic hub, where the related plugins and guides live together.