How to Edit WooCommerce Checkout Page: The Complete Guide
Learn how to edit WooCommerce checkout page with or without code. Discover the best WooCommerce checkout plugin, shortcode tricks, and Elementor methods

You have spent hours optimizing your product pages, running ads, and tweaking your pricing strategy, only to watch visitors abandon their carts because the checkout asks for a company name they do not have. The default WooCommerce checkout page is functional, but it is rarely optimized for your specific niche. If you are wondering how to edit WooCommerce checkout page layouts to match your brand and reduce friction, you are not alone. Whether you prefer a lightweight WooCommerce checkout plugin, custom PHP snippets, or a visual page builder, you can transform that default form into a high-converting sales machine.
Understanding the Default WooCommerce Checkout Structure
Before you start dragging and dropping elements, you need to understand how WooCommerce builds the checkout form. The checkout page is not a standard WordPress page with static content; it is a dynamic template that pulls data from the `woocommerce` plugin directory. By default, the checkout form is divided into billing details, shipping details, order notes, and the order review section.
The Template Hierarchy and File Locations
WooCommerce uses a specific template hierarchy. If you want to modify the raw HTML structure, you will be looking at `templates/checkout/form-checkout.php` and `templates/checkout/form-billing.php`. To make safe edits, you must never touch the core plugin files. Instead, copy these files into your child theme folder at `yourtheme/woocommerce/checkout/`. This ensures your customizations survive plugin updates.
For developers comfortable with hooks, the `woocommerce_checkout_fields` filter is your best friend. This hook allows you to manipulate the fields array before it renders on the screen.
Why You Should Avoid Hardcoding
Hardcoding HTML directly into a page builder often breaks the checkout validation scripts. WooCommerce relies on specific `name` attributes and nonces to process payments securely. If you remove a required field via CSS or a page builder without telling WooCommerce, the checkout will throw an error when the customer clicks "Place Order." Always use the proper hooks or a dedicated checkout editor to maintain data integrity.

Method 1: Using a WooCommerce Checkout Plugin
For most store owners, the fastest and safest route is using a dedicated WooCommerce checkout plugin. This approach requires zero coding knowledge and provides a visual interface to manage fields.
Installing and Configuring the Plugin
Navigate to your WordPress dashboard, go to Plugins > Add New, and search for a checkout editor. Once installed and activated, you will find a new menu item under WooCommerce or in the main sidebar. The interface typically presents a drag-and-drop builder or a list view of all available fields.
Using the Dreamfoxmedia Checkout Fields Manager for WooCommerce, you can instantly toggle fields on or off, change their labels, adjust field types (text, select, textarea, radio), and set validation rules. For example, if you sell digital products, you can remove the shipping address section entirely to reduce cognitive load.
Advanced Features: Conditional Logic and Field Types
A robust plugin goes beyond simple field toggling. You need conditional logic to show or hide fields based on user selection. For instance, if a customer selects "Bank Transfer" as the payment method, you might want to display a custom field for their bank account details. Without conditional logic, that field clutters the screen for everyone else, including credit card users.
You can also add specialized fields like date pickers or time slots. If you run a local bakery, integrating a delivery scheduler is critical. The Delivery Date & Timeslot for WooCommerce plugin allows you to inject a date picker directly into the checkout flow, ensuring you only accept orders you can fulfill.
Method 2: The WooCommerce Checkout Shortcode
Sometimes you need to embed the checkout form inside a custom layout, a membership area, or a specific landing page. This is where the `woocommerce_checkout_shortcode` comes into play.
Embedding Checkout Anywhere
The standard shortcode is simply `[woocommerce_checkout]`. You can place this inside any WordPress page, post, or widget area. However, the default shortcode renders the full form, including the order review. In many cases, you only want the billing form to appear on the left column while keeping the order summary on the right.
To customize the output, you can pass attributes to the shortcode, though WooCommerce core shortcode support is limited compared to the Gutenberg blocks. For advanced layout control, you often need to combine the shortcode with CSS grid or flexbox rules in your theme.
Troubleshooting Shortcode Conflicts
A common issue arises when the shortcode is placed on a page that already has WooCommerce checkout functionality enabled via the page template. This can result in double forms or broken AJAX add-to-cart behavior. Always create a fresh, blank page for the shortcode and ensure the page template is set to "Default" or "Full Width" without the native WooCommerce page template wrapper.
If you are using a page builder, ensure you are using the "Raw HTML" or "Shortcode" widget, not a standard text block, to prevent the builder from stripping the necessary form tags.
Method 3: How to Edit WooCommerce Checkout Page with Elementor
Many agencies build custom sites using Elementor. The question of how to edit WooCommerce checkout page layouts with Elementor is frequent because the default checkout does not play nicely with drag-and-drop editors out of the box.
Using Elementor Pro WooCommerce Widgets
Elementor Pro includes a dedicated "Checkout" widget. This widget allows you to style the checkout form using Elementor's visual controls. You can change the typography, button colors, input borders, and spacing without touching CSS.
To use it, create a new template in Theme Builder, select "Single Product" or "Archive" context, and drag the Checkout widget onto the canvas. You can then use the Style tab to match your brand guidelines perfectly. This is particularly useful for ensuring the checkout matches the aesthetic of the rest of your storefront.
Overriding Templates with Theme Builder
For total control, you can override the WooCommerce checkout template using Elementor's Theme Builder. Go to Templates > Theme Builder > Add New > Single Product or WooCommerce Checkout. Elementor will generate a container where you can place the Checkout widget.
This method is powerful because you can add custom headers, footers, and trust badges around the checkout form. However, be cautious with caching. WooCommerce checkout pages must never be cached statically. Ensure your caching plugin excludes the checkout page URL to prevent session conflicts and payment processing errors.
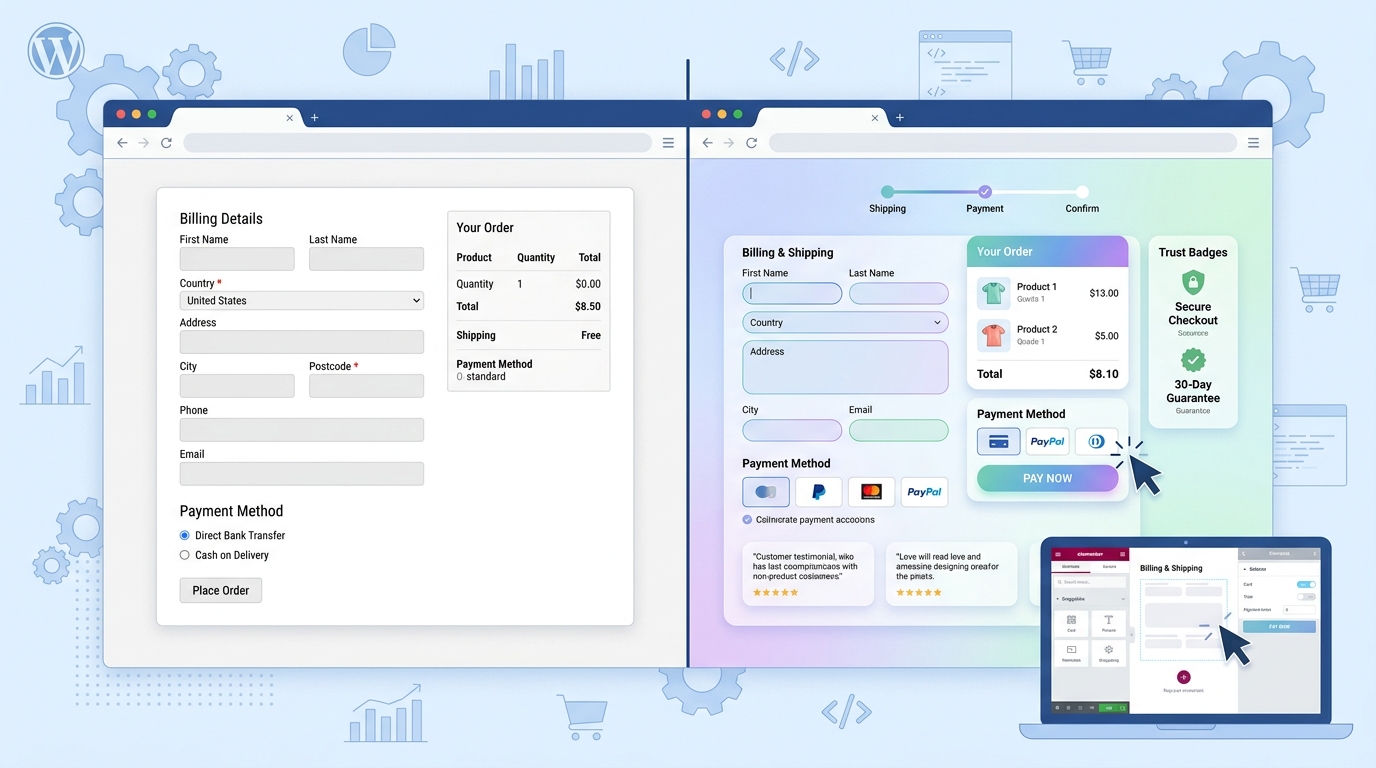
Comparison: Plugin vs. Code vs. Page Builder
Choosing the right method depends on your technical skills and the complexity of your requirements. Here is a breakdown to help you decide.
| Feature | Checkout Plugin | Custom Code (PHP/Hooks) | Page Builder (Elementor/Divi) |
|---|---|---|---|
| Skill Level | Beginner | Advanced Developer | Intermediate |
| Setup Time | 5 Minutes | 1-2 Hours | 30 Minutes |
| Maintenance | Automatic via Plugin Updates | Manual on Theme Updates | Automatic via Plugin Updates |
| Conditional Logic | Built-in (Pro versions) | Requires complex PHP | Varies by Builder |
| Performance | Lightweight | Fastest (No extra assets) | Heavier (Loads builder assets) |
| Risk of Breaking | Low | High (Syntax errors) | Medium (CSS conflicts) |
Optimizing Checkout for Conversions and Compliance
Editing the checkout page is not just about aesthetics; it is about psychology and compliance. Every extra field you ask a user to fill out drops your conversion rate. Research consistently shows that reducing form fields increases completions.
GDPR and Privacy Compliance
If you operate in Europe or California, you must display a privacy policy checkbox. WooCommerce handles the basic requirement, but you may need to customize the text to link to your specific policy. Using a checkout manager, you can add a custom checkbox with a label that links to your privacy page, ensuring you are compliant without cluttering the UI.
Reducing Friction with Smart Defaults
You can pre-fill common fields using the `woocommerce_default_address_form_fields` filter. For returning customers, this saves precious seconds. Additionally, consider integrating a guest checkout option if you have accidentally forced account creation. Forced accounts are a primary reason for cart abandonment.
If you are managing subscriptions or memberships, the checkout flow becomes more complex. You might need to pass specific metadata to the order during checkout. Plugins like Checkout for Freemius can help bridge the gap between WooCommerce and external licensing or membership platforms, ensuring the data flows correctly without manual intervention.
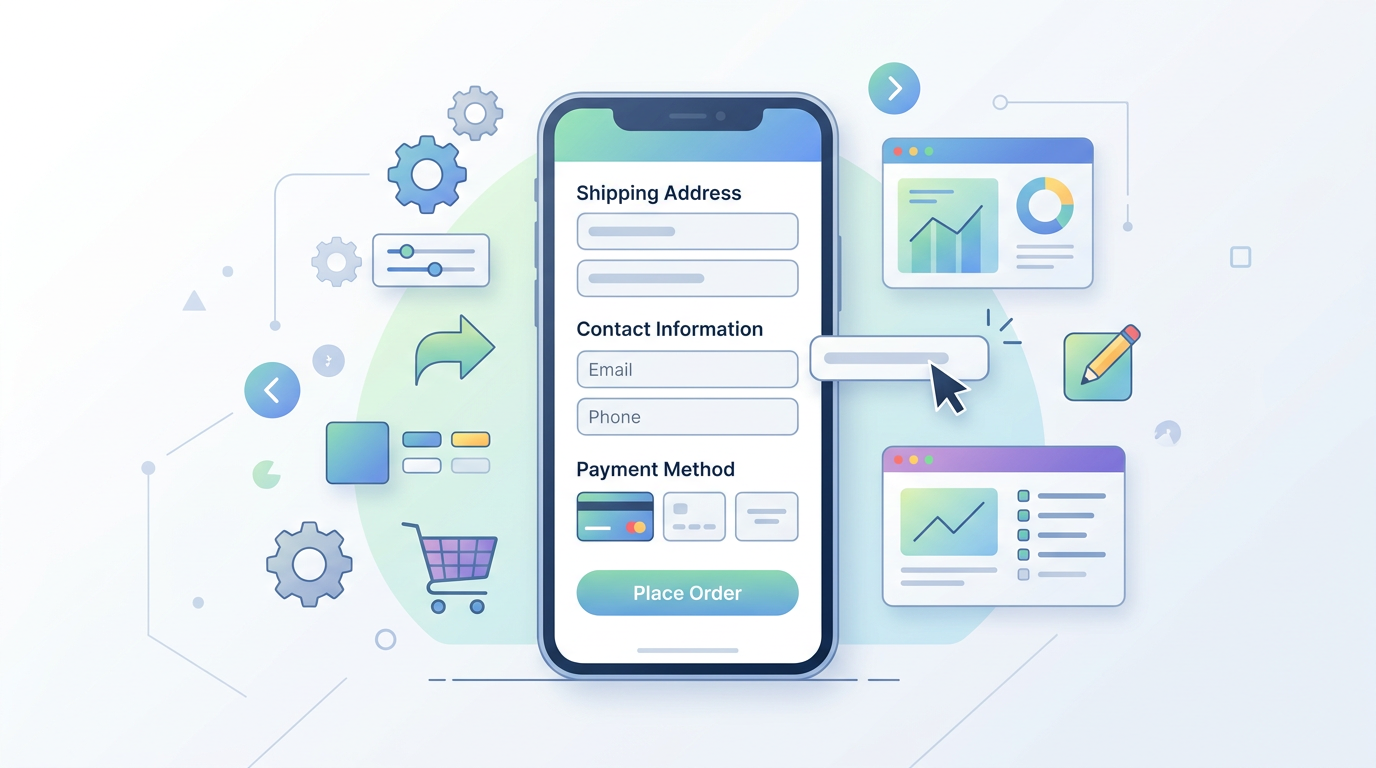
Conclusion
Learning how to edit WooCommerce checkout page elements is one of the highest-ROI tasks you can perform for your online store. Whether you choose a visual builder like Elementor, rely on a robust WooCommerce checkout plugin, or write custom PHP hooks, the goal remains the same: remove friction and guide the customer to a completed purchase. Start by auditing your current fields, removing anything non-essential, and testing your layout on mobile devices. For a seamless, code-free way to manage your form fields and boost conversions, try the Dreamfoxmedia Checkout Fields Manager for WooCommerce today.
FAQ
- how to edit the checkout page in woocommerce?
- You can edit the checkout page by using a dedicated WooCommerce checkout plugin for a visual interface, adding custom PHP code via the functions.php file using hooks, or using a page builder like Elementor Pro to style the checkout widget. The plugin method is the safest and fastest for most store owners.
- how to edit checkout page woocommerce?
- To edit the checkout page, navigate to your WordPress dashboard and look for the checkout editor menu provided by your installed plugin. If you are coding manually, copy the checkout template files from the WooCommerce plugin folder to your child theme's woocommerce folder and modify the HTML structure there.
- how to edit woocommerce checkout page?
- The most efficient way is to install a checkout field manager plugin which allows you to drag, drop, hide, and rename fields without touching code. This ensures that your changes do not break the payment processing validation and survive theme updates.
- how to edit checkout page in woocommerce?
- You can edit the checkout page by disabling unnecessary fields like Company Name or Address Line 2 if they are not needed for your products. Reducing the number of fields directly improves conversion rates, especially on mobile devices where typing is cumbersome.
- how to edit woocommerce checkout page wordpress?
- In WordPress, you can edit the checkout page layout by creating a custom template in your page builder or by using the WooCommerce shortcode on a blank page. Ensure your caching plugin excludes the checkout page to prevent transaction errors.
This article is part of our WooCommerce checkout topic hub, where the related plugins and guides live together.